Creating a SharePass Account
Creating a SharePass account is your gateway to a secure and efficient way of managing and sharing sensitive information. SharePass offers two convenient methods for account creation: traditional email registration and the option to use your existing social media credentials.
Traditional Email Registration
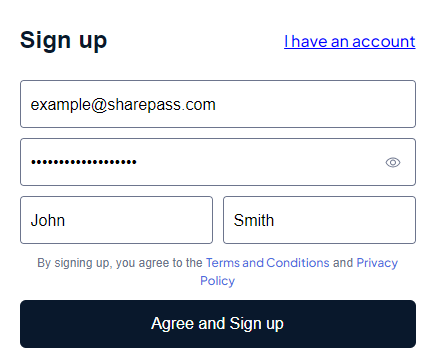
- Sign-Up Process: Visit the SharePass website and navigate to the “Sign Up” section. Enter your email address and a strong, unique password. This password will serve as your access key to your SharePass account.
- Email Verification: SharePass will send a verification link or code to your provided email address. Access your email, click on the link, or enter the code to verify your account.
- Multi-Factor Authentication (Optional): For added security, enable multi-factor authentication (MFA). This requires an additional verification step, such as a code from an authenticator app, along with your password.
- Dashboard Exploration: Once registered, access your SharePass dashboard. Here, you can create secrets, manage your shared data, and explore the platform’s features.
Social Sign-On
Alternatively, you can use your existing social media accounts (e.g., Google, WWPass, Apple) to create a SharePass account. Choose the desired platform and log in using your social media credentials.
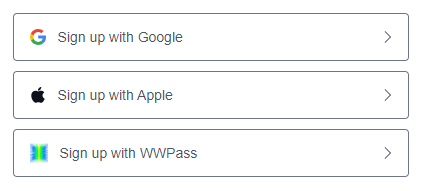
SharePass will request your permission to access certain basic information from your social media profile. This information is used solely for the purpose of account creation and authentication.
With social sign-on, your SharePass account is created seamlessly and quickly. You’re ready to start using the platform right away.
By offering both email registration and social sign-on, SharePass ensures that account creation is user-friendly and tailored to your preferences. Whichever method you choose, you’ll be well-equipped to experience the benefits of secure data sharing and management.