Creating a Secret
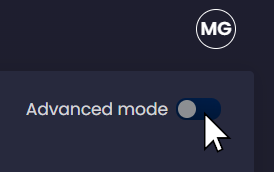
SharePass provides 2 different ways to share secret. The simple and the advanced mode. You can change the mode from the toggle located on the top right corner of the screen.
Simple Mode
This streamlined and user-friendly way to share secrets through a three-step wizard. Follow these steps to quickly and securely share confidential information:
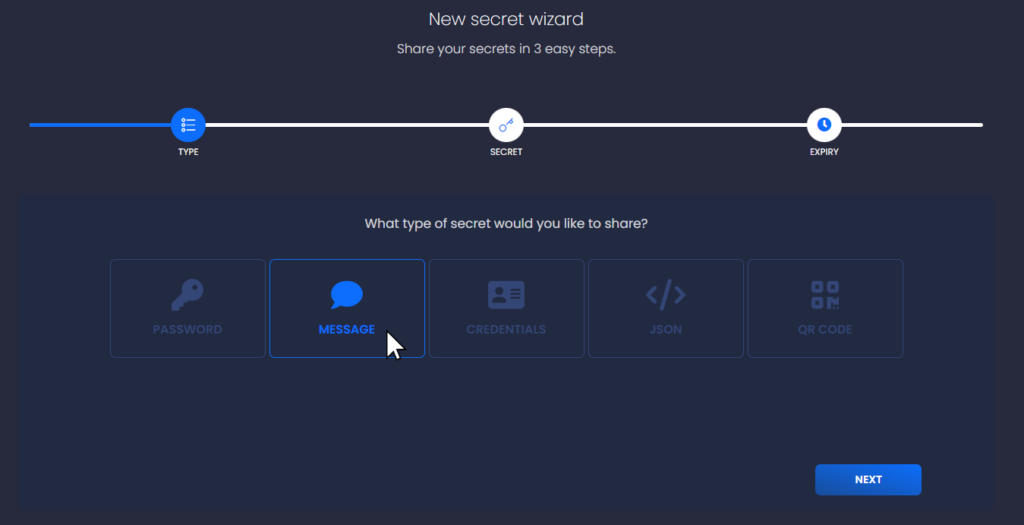
- Select the Type of Secret
Access Simple Mode: Once logged into your SharePass account, navigate to the secret creation interface. Choose the “Simple Mode” option to start the sharing process.
Choose Secret Type: Select the type of secret you want to share. SharePass supports a variety of secret types, such as passwords, messages, files, JSON data, and more.
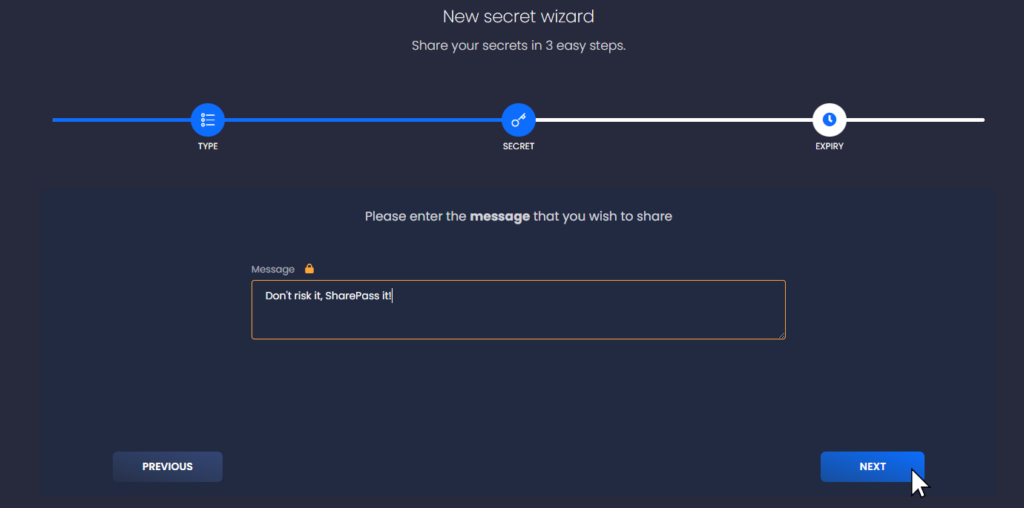
- Enter the Secret
Enter Secret Information: In this step, provide the confidential information you want to share. Depending on the selected secret type, this could be a password, a sensitive message, or any other data you need to protect.
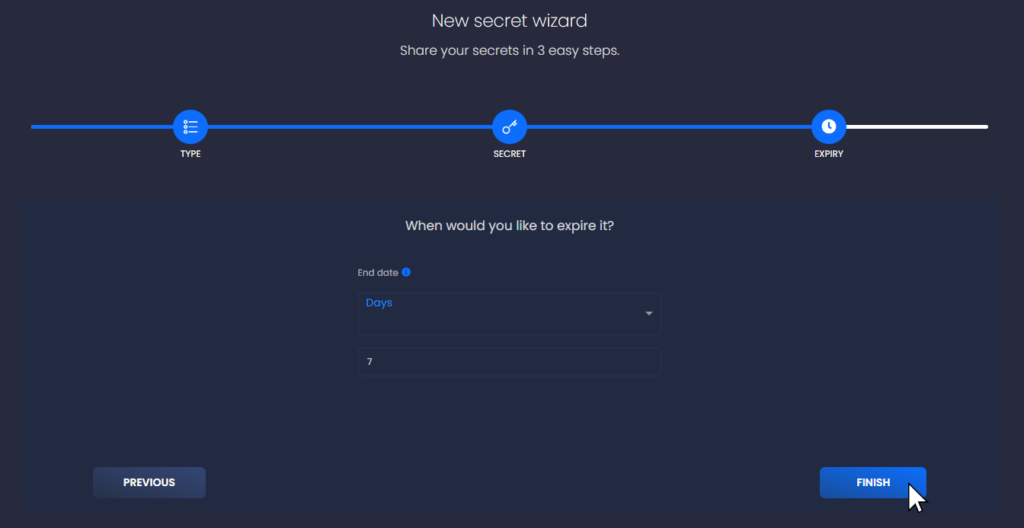
- Select Expiry Settings
Set Expiry Date: Define when the shared secret will expire and become inaccessible to recipients. Choose a specific date and time for the expiration to take effect.
Once the SharePass link is generated, you can review it and share it within you existing communications channels.
Advanced Mode
SharePass allows you to create secrets in advanced mode, offering more customization options during the secret creation process. Here’s how:
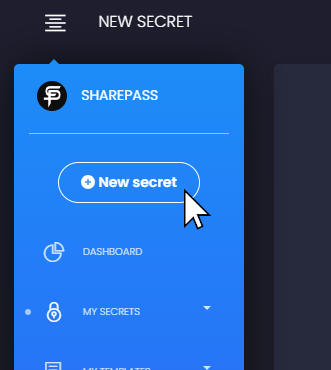
- Start a New Secret:
Access your SharePass account and click on “New Secret”.
- Choose Advanced Mode:
During the secret creation process, you’ll notice a toggle switch at the top or within the secret creation window. This toggle switch allows you to switch between “Simple” and “Advanced” modes.
- Enter Secret Details:
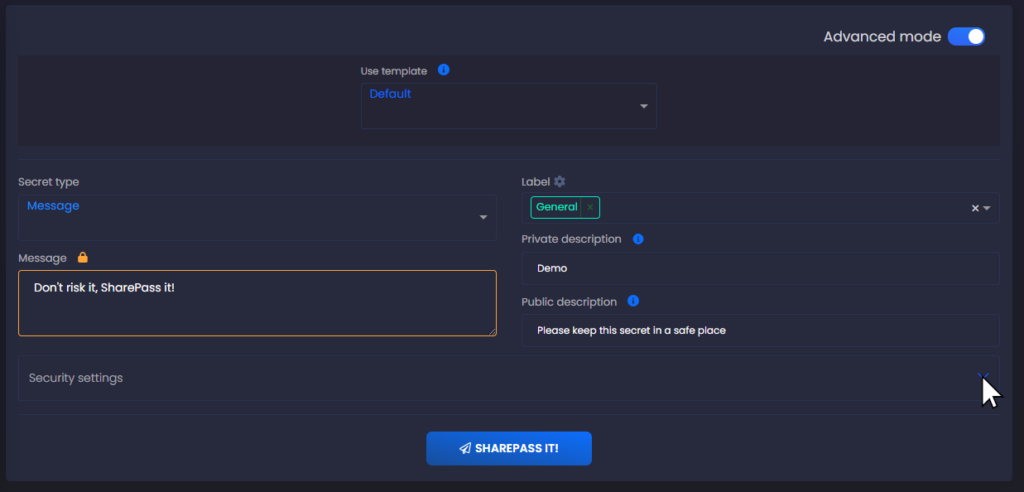
In “Advanced” mode, you’ll have access to additional customization options for your secret. Enter the following details:
Type of Secret: Select the type of secret you want to create from the available options. This can be a password, text message, file, or other data types.
Secret Content: Enter the actual content of your secret. This could be a password, message, or the file you want to secure.
Expiry Settings: Set the expiry date and time for the secret. You can choose when the secret will expire and become inaccessible.
- Advanced Options (Optional):
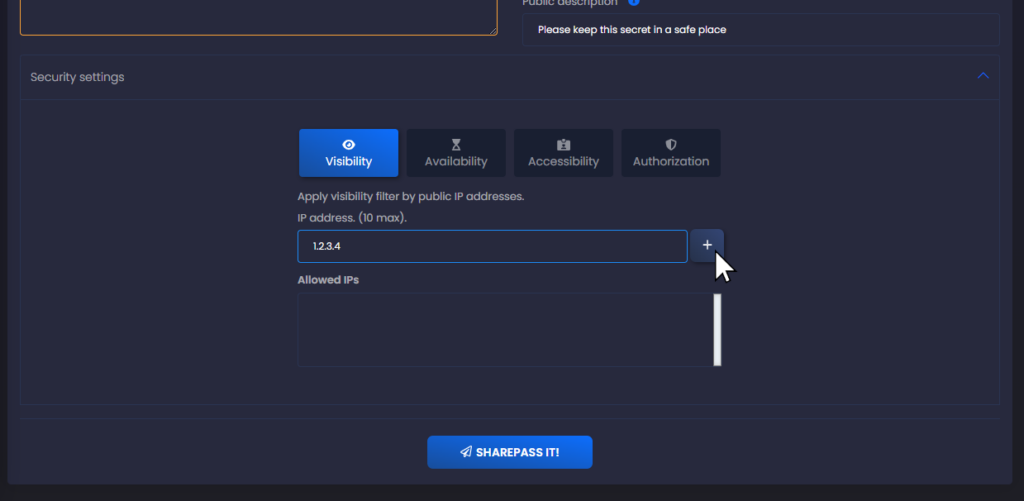
There are additional advanced options available in this mode. These could include specifying who can access the secret, adding labels, or descriptions.
- Review and Share the Secret Link:
Once your secret is created, SharePass will generate a unique link for it. You can copy this link and share it with the intended recipient via email, chat, or any other communication channel.
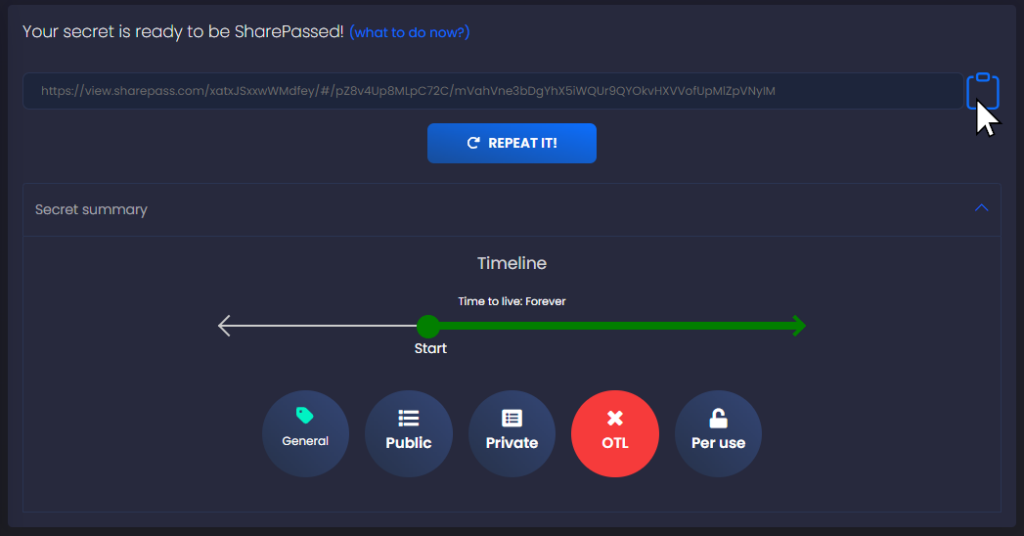
Your secret is now securely stored on SharePass, and only those with the link and appropriate permissions can access it.