SharePass main focus is on its users’ data security and privacy, so we highlight how important it is to have an MFA setup in place. SharePass provides two types of MFA:
- Security Keys (e.g. Yubikey)
- Authenticator app (e.g. Google Authenticator)
Note: MFA configuration is only available for those accounts registered with email and password (SSO accounts should enable MFA at the SSO provider account).
Setting up MFA with security keys
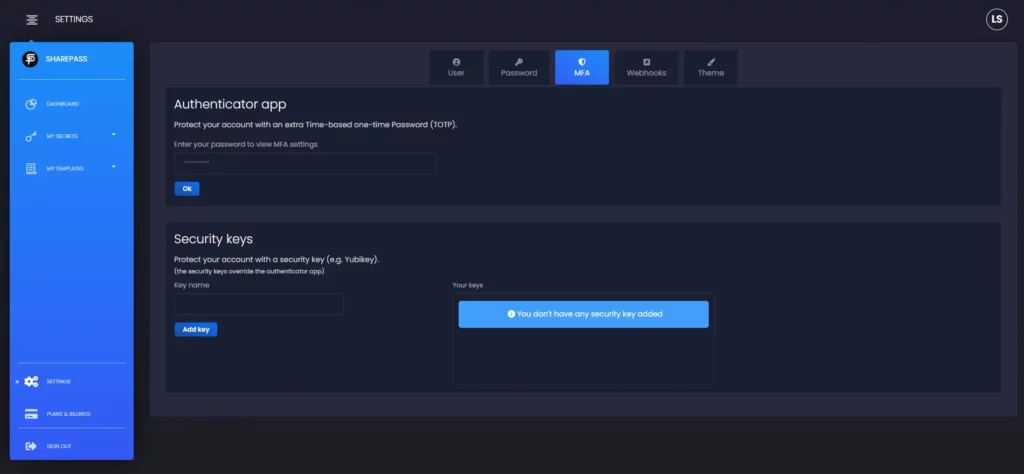
Once logged in to the web app, go to Settings → MFA.
You can add up to 5 keys with a descriptive name in the Security keys section. You can remove any particular key at any time.
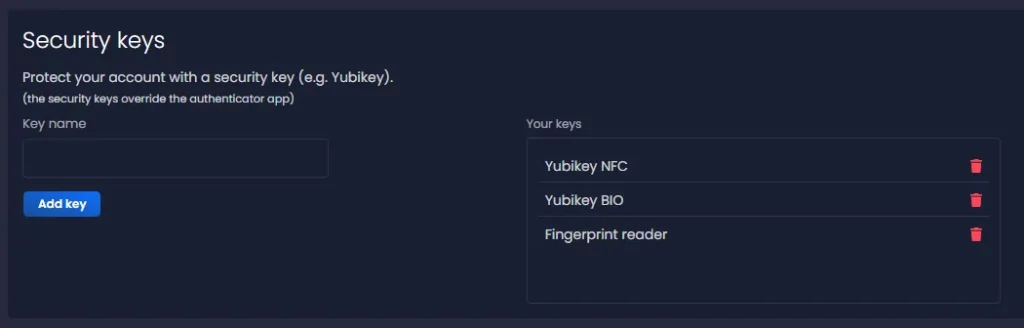
Important: It is recommended to have at least two keys configured as a precaution
Setting up MFA with an authenticator app
You can configure the authenticator app on the Settings page under the MFA tab (Settings → MFA). First, you will need to type your password, and then you will be presented with a switch to enable/disable the authenticator app MFA.
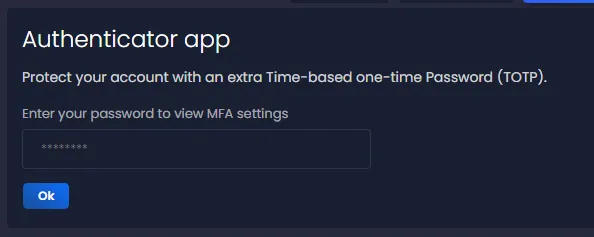
Once you enable the MFA for the first time, a QR code needs to be scanned with your authenticator app. Alternatively, you can copy/paste the secret key to add the SharePass TOTP (time-based one-time password). After the authenticator app has been configured, use the verification code to complete the MFA setup.
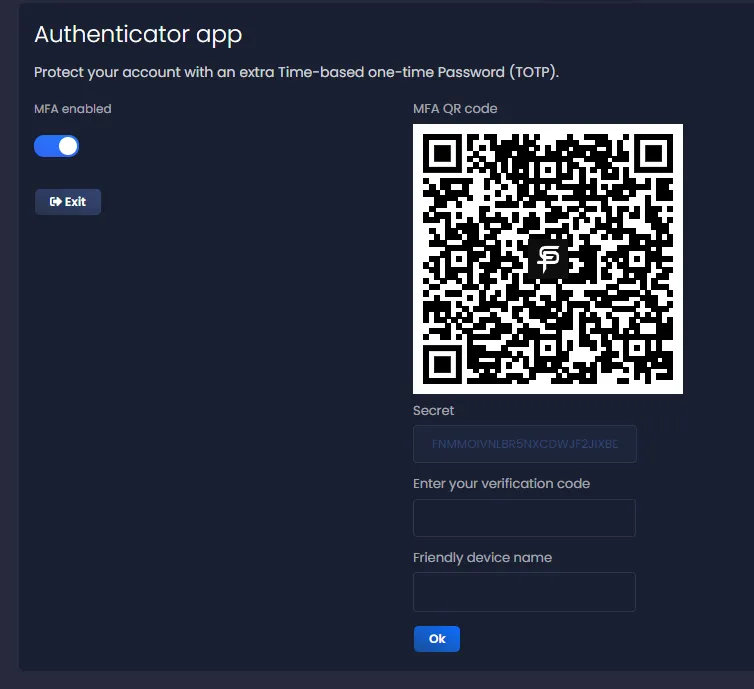
Recommendation: Use a friendly device name as a reminder.
You can disable the authenticator app MFA or regenerate it if needed.
Are you having trouble with the security key or authenticator app?
Suppose you cannot use your security keys or generate TOTP from the authenticator app. In that case, you will need to contact us via email (support@sharepass.com) and go through a verification process to reset and access your account.